Blog
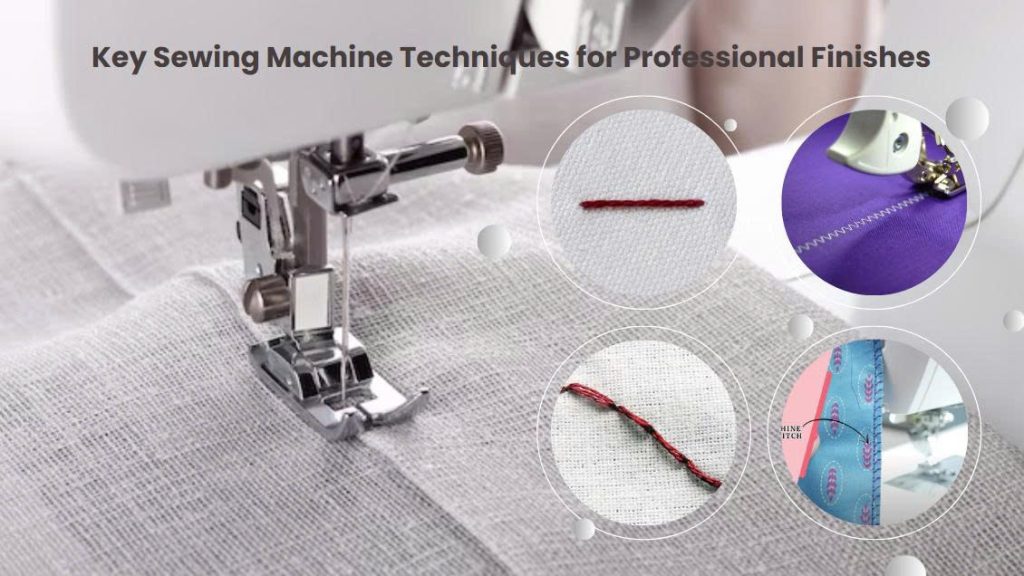
Key Sewing Machine Techniques for Professional Finishes
18
Sep
Sep
Developing strong sewing machine skills comes from consistent practice and the lessons learned from past projects. Since sewing and quilting always bring new methods to explore, continuous improvement is key.
Whether you are just starting out or looking to sharpen your expertise, grasping the basics—such as threading, adjusting tension, mastering different stitches, and solving common issues—will help you achieve accuracy, durability, and polished results. This guide breaks down the core techniques every sewer should understand.
Introduction
Reliability, precision, and consistency are what make sewing machines indispensable for fashion designers and textile specialists. Still, even the most advanced equipment won’t perform at its best without proper setup and operation. Correct manual adjustments, threading, and presser foot positioning are all critical.
In this guide, we’ll cover five essential areas:
- 1Proper threading and tension control
- 2List ElementKey stitch types and their uses
- 3Effective fabric guidance and presser foot use
- 4Step-by-step machine setup
- 5Troubleshooting frequent problems
With these foundations, you’ll be prepared to take on projects ranging from everyday household items to creative custom gifts—using everything from high-performance MH threads to standard sewing supplies.
Threading and Tension
Why It Matters
Threading and tension settings directly affect stitch quality and machine performance. Loose, uneven, or broken stitches often trace back to poor threading or incorrect tension. Always listen for unusual sounds and watch for changes in stitch appearance—these are early warning signs.
Threading Your Machine
Tip: Premium-quality threads, such as those from MH, minimize lint buildup and breakage.
Adjusting Tension
Pro tip: Test your settings on a fabric scrap before starting your main project.
Basic Stitch Types
A variety of stitches support both functional and decorative sewing needs. From clothing alterations to accessories like aprons, pet gear, or home linens, knowing the right stitch makes the job easier.
Consistent setup, accurate stitch selection, and good-quality thread all enhance the final product.
Presser Foot and Fabric Guidance
Think of sewing as driving—smooth, steady movements are key. Always rotate the handwheel toward yourself to avoid tangles.
Common Presser Feet
Guiding Fabric
Regular practice across different textiles (cotton, synthetics, linen, delicate blends) builds control and consistency.
Setting Up the Machine
Solid preparation ensures smooth sewing and prevents costly errors.
Setup Checklist
- 1Clean the machine: Remove lint, dust, and stray threads.
- 2Insert a fresh needle: Ensure proper orientation.
- 3Thread and load bobbin: Double-check placement and direction.
- 4Test tension: Use scrap fabric to confirm balance.
- 5Attach presser foot: Secure the correct foot for the job.
- 6Select stitch: Adjust width and length for your material.
Tip: Store bobbins with their matching thread spools to stay organized.
Routine care prolongs machine life, improves efficiency, and reduces downtime
Troubleshooting Common Issues
Even experienced sewists face hiccups. Quick checks can often resolve them:
Identifying problems early keeps projects on track and protects materials.
Conclusion: Sewing Success Through Strong Fundamentals
By mastering core sewing machine skills, you’ll notice immediate improvements in your results. Correct threading, accurate tension, essential stitches, and smart fabric guidance all contribute to seamless outcomes.
Pair consistent setup with timely troubleshooting, and always use the right tools—especially high-quality threads and needles—to protect your work and maximize efficiency.
For professional-grade supplies, explore the MH E-CATALOG to find premium sewing threads, needles, and accessories designed to elevate every project.